Understanding how a roof is installed, repaired, or replaced is a key part of planning any home improvement project that protects your property from Minnesota’s varied weather conditions. From initial evaluation to final inspection, every step in the roofing process matters for long-term performance, weather resistance, and structural integrity. With decades of experience in residential roofing, A&M Roofing LLC offers insight into how a professional roofing process unfolds and what homeowners can expect along the way.
This reference guide breaks down the roofing process into clear stages, highlights what each phase entails, and explains why a structured approach contributes to durable roofs that stand up to snow, wind, and seasonal temperature swings.
The roofing process refers to the sequence of steps professionals take to evaluate, plan, and execute roof work—whether that’s repairing leaks, installing a new roof system, or replacing an older one entirely. A well-executed roofing process ensures that:
The structure is safe and sound
Weather barriers are properly installed
Materials are applied correctly for maximum lifespan
Final inspections confirm quality and performance
In climates like Minnesota, where roofs face snow, ice, hail, and wind, adhering to a thorough process isn’t optional—it’s essential to protect homes and investments year after year.
A successful roofing process begins with a detailed roof inspection. This first step evaluates the current condition of the roof and identifies existing damage, structural concerns, and areas that may need immediate attention. During this assessment, contractors look for:
Worn or missing shingles
Signs of water intrusion or rot
Flashing damage around chimneys and vents
Sagging or structural irregularities
A thorough inspection not only informs the homeowner about the roof’s current state, but also helps professionals determine whether repairs, partial replacement, or a full installation is the best course of action.
After the assessment, the next step is planning the project. Roof planning includes:
Choosing the right roofing materials (asphalt shingles, metal, etc.)
Ordering necessary supplies
Determining appropriate underlayment and ventilation systems
Each material type has unique attributes. For example, asphalt shingles are popular for residential settings due to cost-effectiveness and performance, while metal roofing can offer enhanced durability and energy efficiency. Material choice affects not only appearance but also longevity and weather resistance.
Professional roofers work with homeowners to match expectations, budget, and performance needs, ensuring clarity before any physical work begins.
Before any roof replacement or installation work can begin, proper preparation is necessary. This includes setting up safety measures such as:
Scaffolding or safety harness systems
Ground protection for landscaping and property
Removing debris and old roofing materials if a replacement is planned
Safety protocols are vital to protect both the roofing team and the property. A prepared worksite gives contractors the space they need to work efficiently and reduces the risk of damage to the home during the process.
When replacing an existing roof, the old materials are typically removed. This “tear-off” stage involves stripping away shingles, underlayment, and sometimes damaged decking. Removing old layers allows for a full inspection of the deck and makes room for new underlayment and materials that adhere properly.
If the roofing project is a repair rather than a full replacement, this stage may involve only targeted removal around damaged areas instead of a complete tear-off.
Once the old roof is removed and the deck is prepared, the next step is installing the underlayment—a critical layer that provides added protection against moisture and wind intrusion. Proper underlayment, coupled with effective ventilation, helps prevent ice dams and water infiltration that can compromise the roof structure over time.
This phase also includes installing leak barriers in vulnerable areas such as valleys, chimneys, and roof edges to enhance waterproofing.
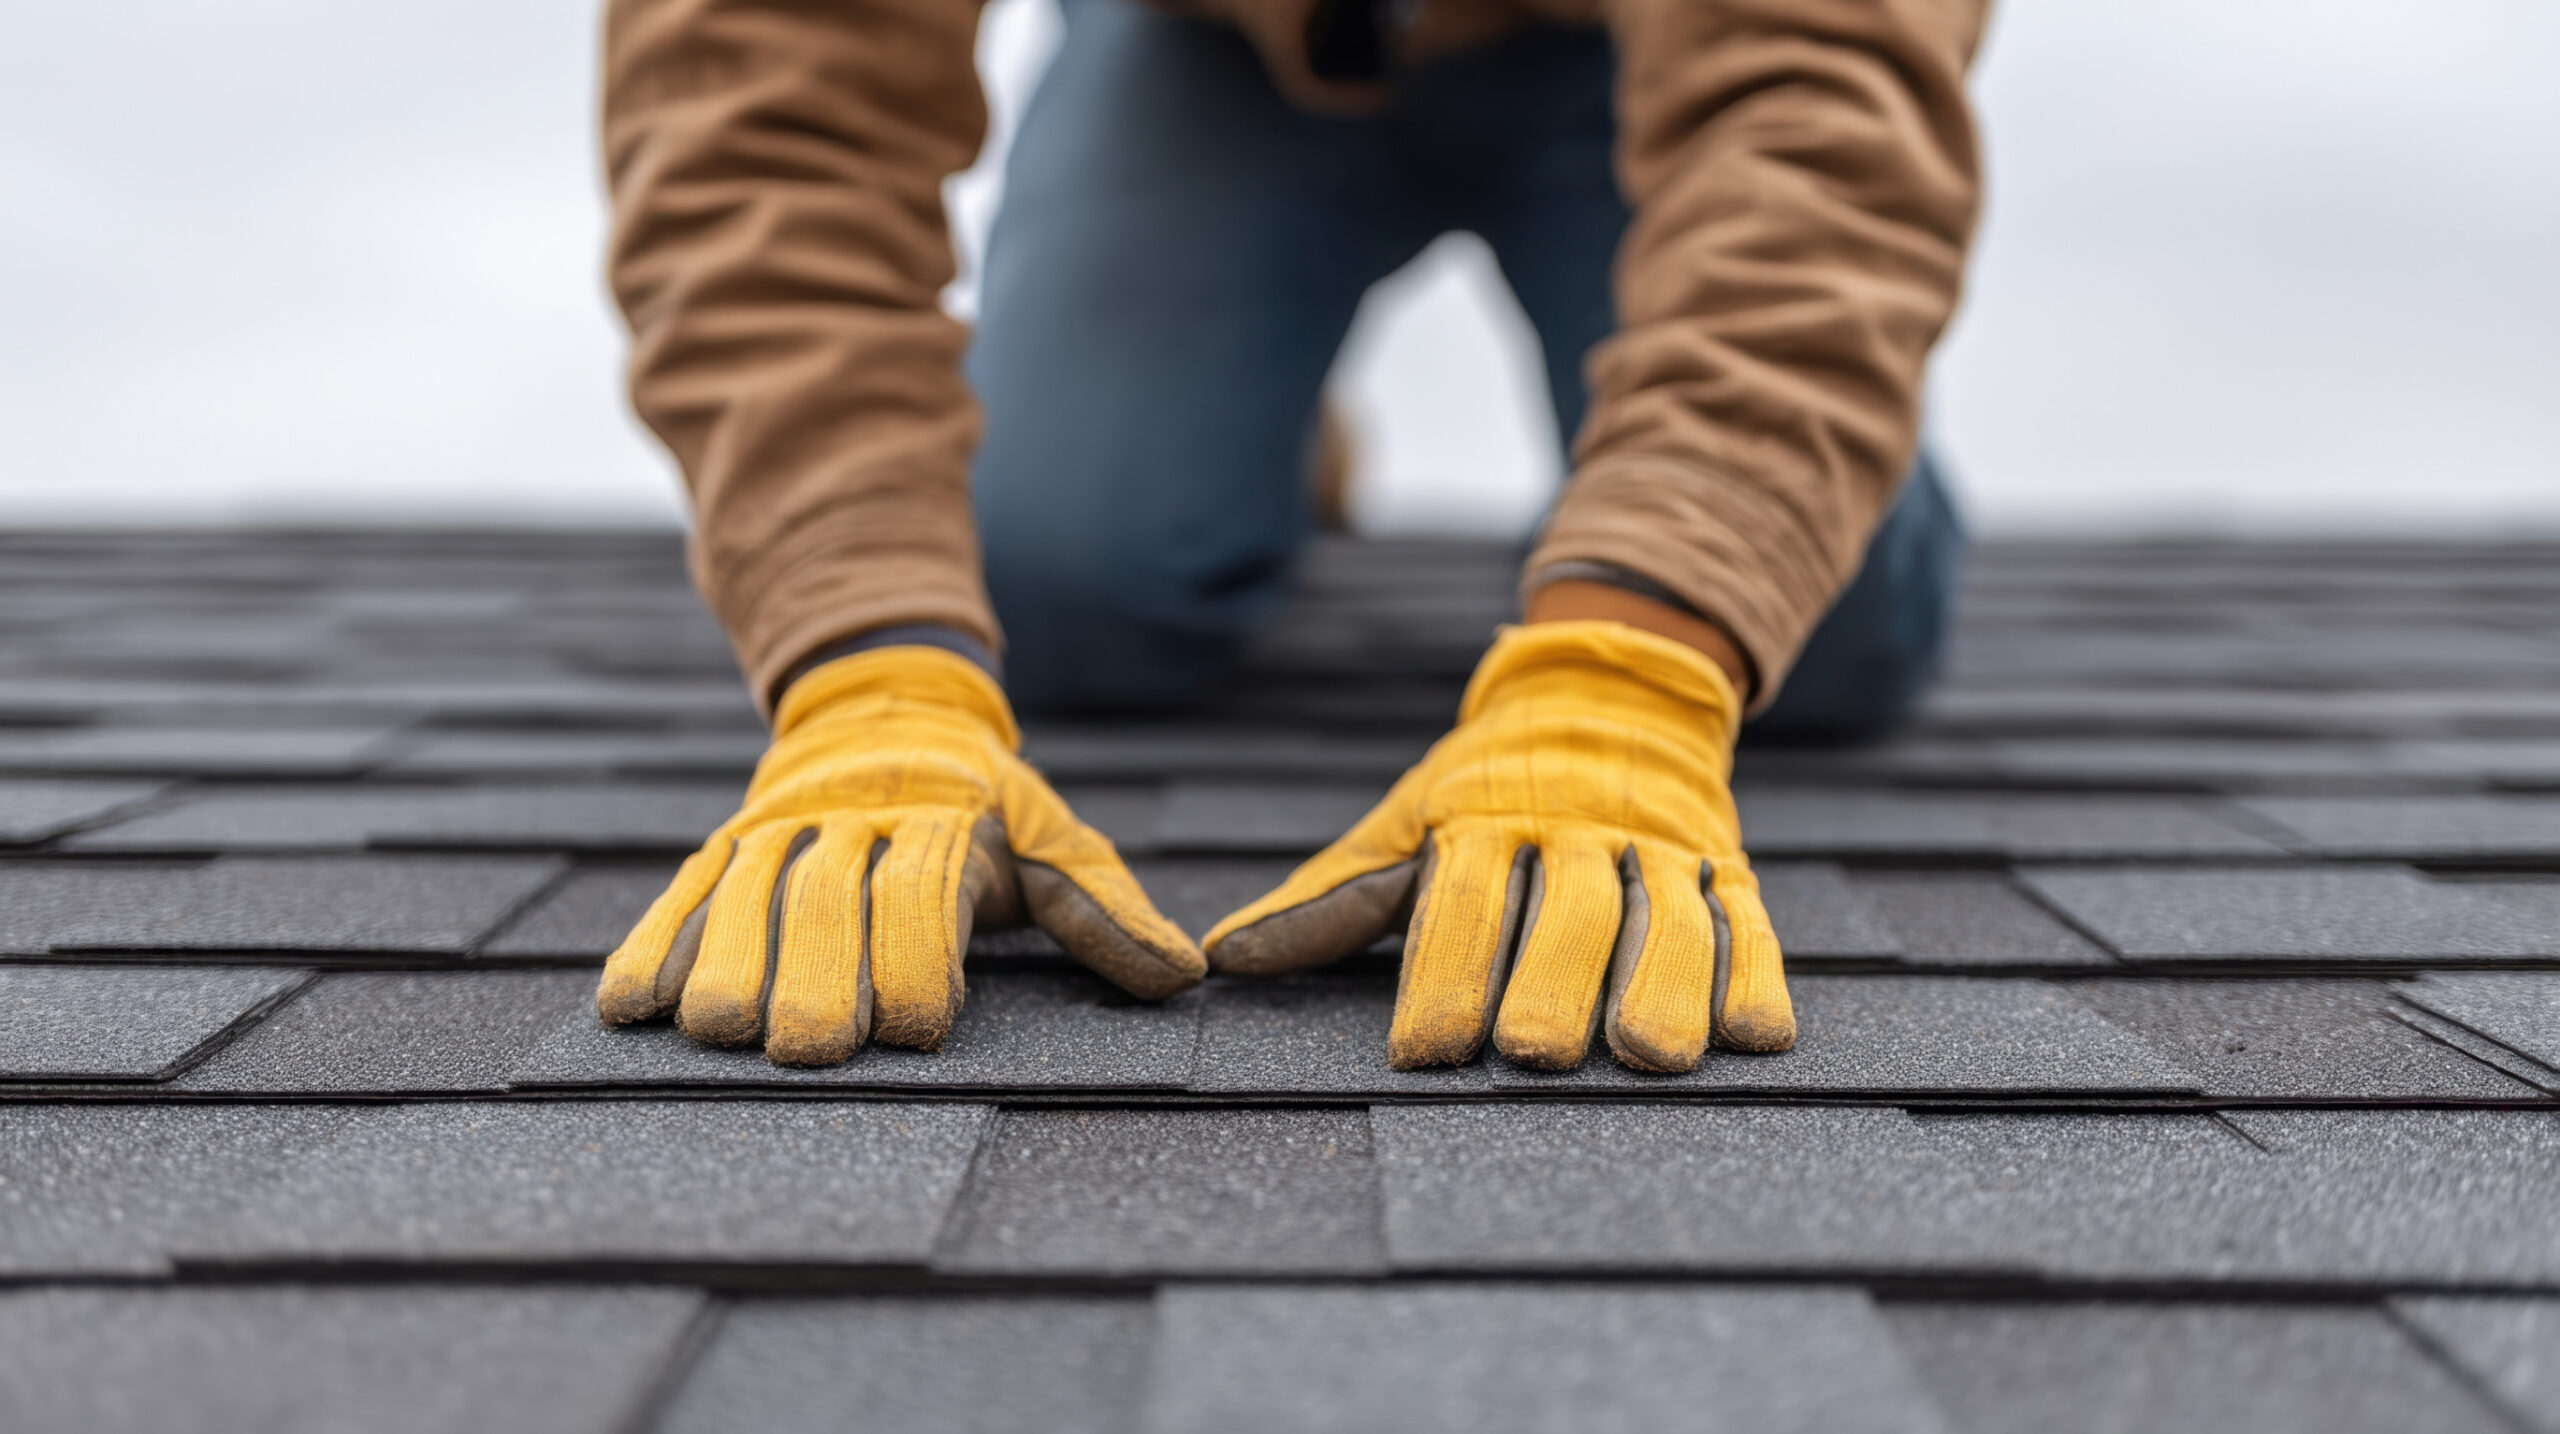
With the underlayment in place, roofers begin applying the selected roofing materials. This typically starts with starter strips along eaves and edges for added stability, followed by shingles or other chosen roofing products. Proper alignment and fastening are crucial to resist wind uplift and ensure uniform coverage.
Flashing—metal pieces installed around vents, chimneys, and other roof intersections—plays a vital role in preventing water entry and is integrated during this stage.
After the roofing materials are installed, a final inspection is conducted. This review verifies that:
Materials are properly aligned and secured
Flashing and ventilation meet quality standards
No debris or hazards remain on the site
Cleaning up the work area includes removing leftover materials, nails, and equipment to leave the property safe and clean. This final step also often includes a homeowner walkthrough to confirm satisfaction with the completed work.
Once the roofing process is complete, ongoing maintenance and periodic inspections help ensure the roof continues performing well. Regular cleanings, gutter maintenance, and scheduled checkups can extend roof life and prevent unexpected issues, especially in regions with dramatic temperature changes and heavy precipitation.
A structured roofing process performed by experienced professionals ensures that every layer—from underlayment to shingles—works together to protect your home against the elements. With more than 30 years of experience serving Minnesota homeowners, A&M Roofing brings craftsmanship and quality standards backed by industry certifications, resilient materials, and personalized service for each project.
This attention to process helps deliver roofs that not only perform well initially, but also endure through decades of seasonal challenges.
Resources: